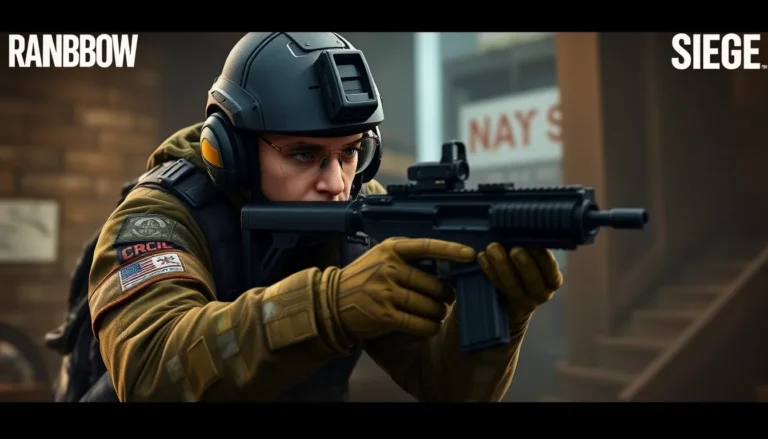
In the intense world of Rainbow Six Siege, the Secure Area game mode stands out as a thrilling test of strategy and teamwork. Players dive into high-stakes scenarios where securing a designated area is the ultimate goal. With a mix of tactical gameplay and heart-pounding action, this mode challenges even the most seasoned operators.
Understanding the dynamics of Secure Area is crucial for success. Teams must balance offense and defense while leveraging unique operator abilities to outsmart opponents. As players navigate through tight spaces and utilize environmental advantages, every decision can make or break the match. Whether you’re a newbie or a veteran, mastering this mode can elevate gameplay and enhance the overall Siege experience.
Overview of Rainbow Six Siege Secure Area
Secure Area presents a tactical gameplay experience where teams must either defend or attack a designated area. The objective for attackers involves securing a location, while defenders aim to protect it. Maps feature tight corridors and enclosed spaces, demanding precise movements and strategic planning.
Operators possess distinctive abilities that influence gameplay dynamics, making operator selection vital. Players often employ drones and gadgets to gather intelligence, countering enemy strategies. Communication among teammates enhances efficiency in executing plans and adapting to evolving situations.
Success hinges on the ability to assess risks, navigate surroundings, and make quick decisions under pressure. Mastery of this game mode fosters a deep understanding of the mechanics, enriching the overall gameplay experience in Rainbow Six Siege.
Map Dynamics
Map dynamics in Secure Area play a pivotal role in shaping gameplay. Players must navigate complex layouts that either support defensive strategies or present opportunities for attackers.
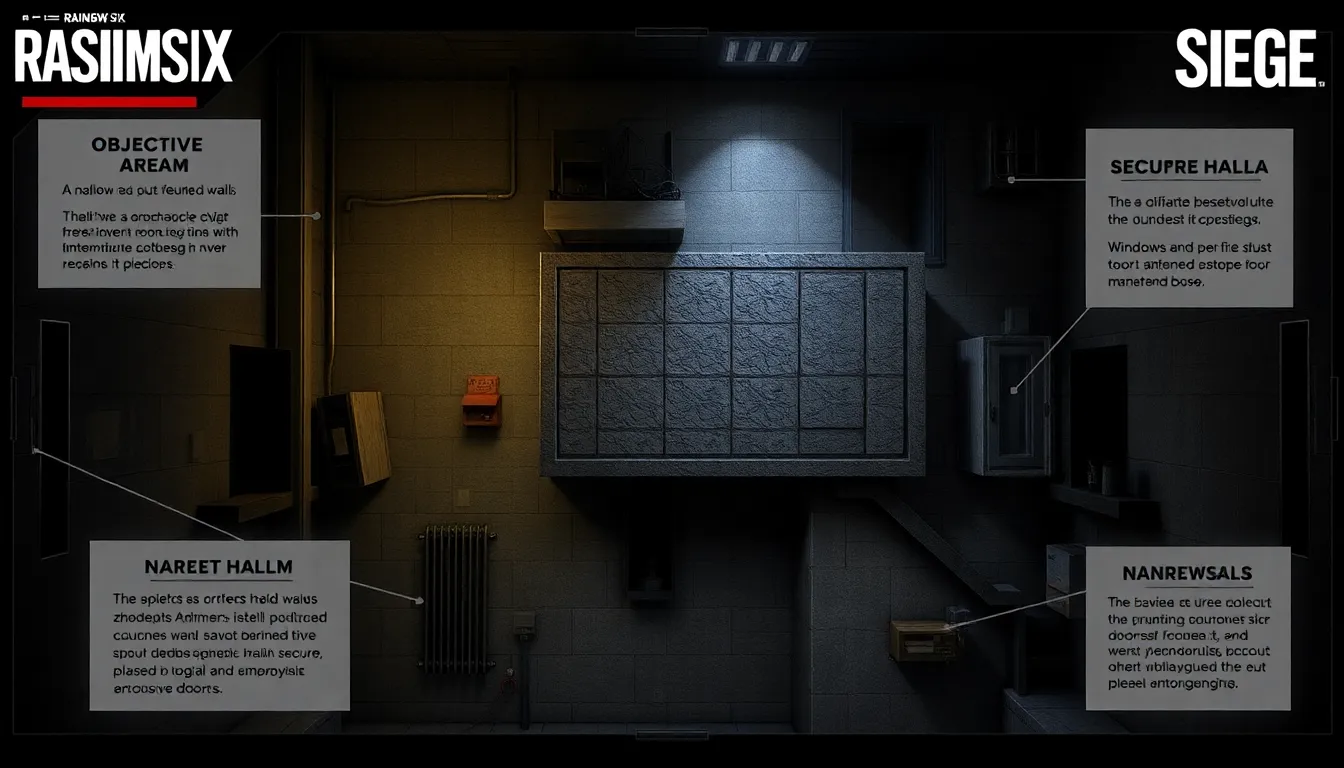
Key Locations
Key locations significantly impact gameplay strategy. Defenders often occupy the objective area, leveraging cover and vantage points. Common spots include:
- Objecive Room: Central to defending the Secure Area, this room requires robust fortification.
- Hallways: Narrow corridors enhance ambush opportunities but limit movement options.
- Windows/Doors: Entry points serve as critical vantage spots for both defenders and attackers.
Understanding these locations and their strategic importance enables teams to establish control and dictate the flow of the match.
Tactical Advantages
Tactical advantages arise from effective map utilization. Successfully controlling key areas enhances team positioning. Notable tactics include:
- Flanking: Executing flanking maneuvers can catch defenders off guard.
- Vertical Play: Utilizing multi-level maps allows attackers to leverage floor access for surprise assaults.
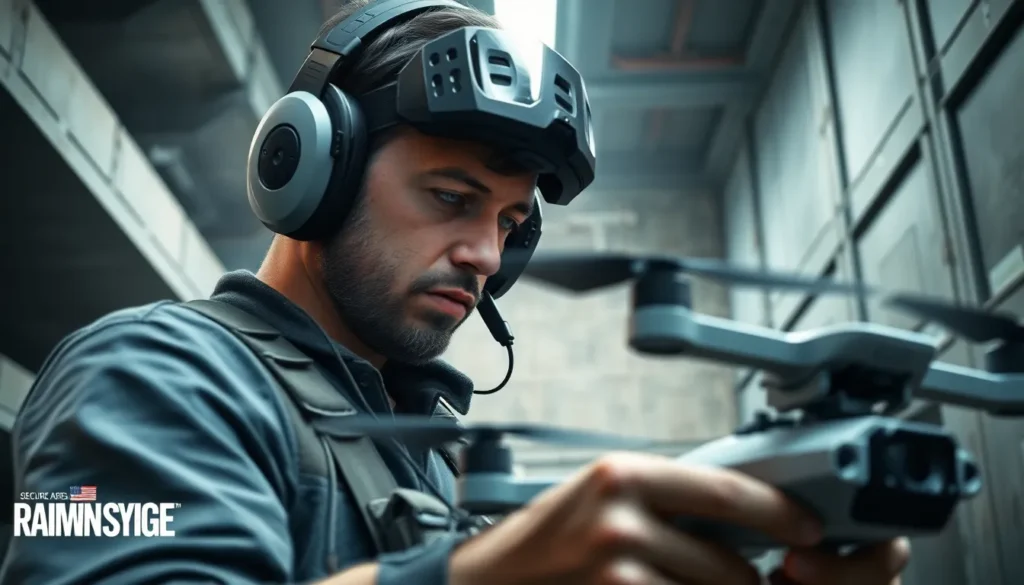
- Gadget Deployment: Using drones and traps can create distractions and gather intelligence.
Effective communication and adaptability enhance these advantages, enabling teams to respond swiftly to enemy movements.
Operator Roles
Operator roles in Secure Area are pivotal for achieving team objectives. Each operator’s unique abilities and gadgets play distinct roles that can significantly impact gameplay.
Attackers
Attackers focus on breaching and securing objectives. They employ various abilities that facilitate entry, disorient defenders, and gather information. Key attacker roles include:
- Entry Fragger: This operator leads the assault, quickly engaging enemies and creating space for teammates.
- Soft Breacher: This operator uses breaching charges or gadgets to open reinforced walls, allowing access to objectives.
- Hard Breacher: This operator uses specialized tools, like thermite charges or hull-cutters, to create fortified entry points.
- Support Operator: This operator provides utility, such as drones or flashes, to assist the team in executing strategies.
Choosing the right attacker can dictate the pace and progression of the match. Coordination among attackers enhances cumulative effectiveness, especially when leveraging each operator’s strengths.
Defenders
Defenders prioritize preventing attackers from securing objectives. They utilize unique gadgets and fortifications to control space and gather intelligence. Key defender roles include:
- Roamer: This operator maneuvers around the map, flanking attackers to disrupt their advance and gather information.
- Anchor: This operator stays close to objectives, reinforcing key areas and using gadgets to defend against direct assaults.
- Disruptor: This operator employs traps or devices designed to hinder attackers’ progress and visibility.
- Hard Breacher Denier: This operator focuses on countering hard breachers, disabling their gadgets or reinforcing walls strategically.
Successful defenders require not only strong awareness of map dynamics but also effective communication to coordinate responses to attacker strategies. Leveraging the strengths of each defender can significantly destabilize an attacker’s plan, maintaining control over the Secure Area.
Strategies for Success
Success in the Secure Area game mode hinges on effective strategies that enhance team performance and control over the objective. Focusing on teamwork and tactical positioning maximizes the chances of victory.
Team Coordination
Team coordination forms the backbone of success in Secure Area. Players must communicate effectively using voice chat and in-game tools to share intel and coordinate actions. Designating specific roles for each operator enhances focus and efficiency—attackers can adopt entry and breach strategies while defenders maintain control of critical entry points.
Establishing a clear plan before engaging in the match ensures that everyone understands their tasks. Continuous updates about enemy movements keep the team aligned and adaptable. Drones and gadgets should be utilized not just for gathering information but for orchestrating team pushes or setting traps for enemies. Successful teams practice synchronizing their attacks on multiple fronts, disrupting defender setups and forcing them into reactive positions.
Bombsite Defense
Implementing effective bombsite defense strategies proves vital for maintaining control in Secure Area. Defenders benefit from utilizing operator abilities to reinforce walls, set traps, and establish surveillance. Positions within the objective room should prioritize cover and line of sight to choke points, enabling defenders to repel attackers effectively.
Key defensive activities include smart gadget placements, such as barbed wire and traps, to slow or hinder attackers’ movements. Operators like Jäger can intercept projectiles, while Bandit can electrify reinforced walls to deter breaches. Transparency in communication enhances the defenders’ ability to coordinate counterattacks and rotations.
Creating crossfire situations increases the threat level for attackers, forcing them to choose between multiple angles of engagement. Regularly assessing the bombsite layout and adjusting defensive strategies in response to enemy tactics proves essential for establishing a dominant defensive presence. Understanding how to utilize verticality can allow defenders to control sightlines from above, providing additional layers of tactical advantage.
Mastering the Secure Area game mode in Rainbow Six Siege requires more than just individual skill. It demands a cohesive team effort where strategy and communication take center stage. Players who understand the intricacies of operator roles and map dynamics can significantly enhance their chances of success.
The ability to adapt to evolving situations while leveraging unique operator abilities is crucial. Whether defending or attacking, players must remain vigilant and coordinated to outmaneuver their opponents. By honing their skills and fostering teamwork, players can truly elevate their gameplay experience in this intense and strategic environment.